 NexGPU-算力租赁,GPU服务器,GPU云算力,AI服务器租用-新闻博客
You've just rented a GPU instance. The console gives you an IP, a port number, a username, and possibly a .pem or .key file. All you need to do next is one thing: connect your terminal. The command itself is just one line, but what actually trips people up is private key permissions, non-default ports, and local known_hosts warnings after switching machines. Let's walk through it in the order you'll actually do it.
Get That One Line Working First
ssh -p <端口> -i <私钥绝对路径> <用户名>@<IP或域名>For example:
ssh -p 24681 -i ~/.ssh/nexgpu_key [email protected]All four elements come from the instance details in the console. Missing any one of them means you can't connect:
- Host address: the IP or assigned domain name.
- Port: rented containers/VMs are usually exposed through NAT, so the port isn't 22—it's 2222 or some high port. If you forget
-pand hit port 22 directly, the usual symptom is a connection timeout or refusal, which many people mistake for the machine not being up. - Username: container instances often use
root, while cloud VM images might useubuntuor similar. Using the wrong username gives anPermission denied (publickey)error, which looks exactly like a key problem, so double-check this first. - Private key:
-ishould point to the local private key path, not the public key (.pub), and not a remote file path.
The first connection will ask whether to trust the host fingerprint. Type yes and it gets written to ~/.ssh/known_hosts.
Private Key Permissions: The Most Common Hurdle
The OpenSSH client checks the permissions of the private key file. If other users can read it, it will simply ignore the key and throw an error:
WARNING: UNPROTECTED PRIVATE KEY FILE!
Permissions 0644 for 'xxx' are too open.
...
bad permissions: ignore key
This isn't the server rejecting you—it's your local client refusing to use the key, which ends up looking like authentication failure.
Linux / macOS:
chmod 600 ~/.ssh/nexgpu_keyWindows has no chmod, so you need to change the NTFS ACL. In the GUI: right-click the private key → Properties → Security → Advanced → Disable inheritance (choose "Remove all inherited permissions from this object"), then keep only the current logged-in account. The command-line equivalent:
icacls .\nexgpu_key /inheritance:r
icacls .\nexgpu_key /grant:r "$env:USERNAME:(R)"
Also note that private keys downloaded from web pages often contain Windows line endings or extra spaces, and editing them in Notepad makes it worse. If in doubt, re-download or regenerate a key pair—don't try to patch it by hand.
If the platform asks you to upload your own public key, the order is: generate a pair locally with ssh-keygen -t ed25519, paste the contents of .pub into the console, and keep the private key local. If the platform provides a one-time download of the private key, download it, immediately fix permissions, and store it safely. If you lose it, you'll usually have to rebuild the instance or re-inject a public key.
Put Long Commands into ~/.ssh/config
Typing the port and path every time is tedious and error-prone. Write a block in your local ~/.ssh/config (or C:\Users\你\.ssh\config on Windows):
Host gpu-a
    HostName 203.0.113.42
    Port 24681
    User root
    IdentityFile ~/.ssh/nexgpu_key
    IdentitiesOnly yes
    ServerAliveInterval 30
Then connecting becomes:
ssh gpu-aIdentitiesOnly yes ensures only the specified key is used. When you have many local keys, SSH tries them one by one, and after a certain number of attempts the server kicks you off with Too many authentication failures. Adding this line avoids that. ServerAliveInterval helps prevent sessions that hang on training logs for a long time from being cut off by intermediate devices.
When you switch instances, just change HostName and Port in this config—the alias stays the same, and VS Code and scp can reuse it later.
Write Code Directly on the Remote with VS Code
After installing Microsoft's official Remote - SSH extension, it reads the same ~/.ssh/config and shows gpu-a in the host list. Click to connect, and VS Code automatically installs a lightweight server on the remote. From then on, file browsing, terminal, debugging, and extensions all run on the GPU machine—your local machine is just the UI. For running training scripts and debugging notebooks, this is much more convenient than a pure terminal, and it will also try to automatically forward ports for services started remotely.
Two things to keep in mind: the remote server and any extensions you install remotely will be written to the instance disk (~/.vscode-server), consuming instance storage; and when the network hiccups, VS Code will reconnect automatically, but any foreground process will die along with the terminal. For long tasks, still use tmux / nohup or run with checkpointing—see Cloud GPU Long Task Interruption Recovery and Checkpoint Setup.
Use Port Forwarding to Open ComfyUI, Jupyter, and Other Web UIs
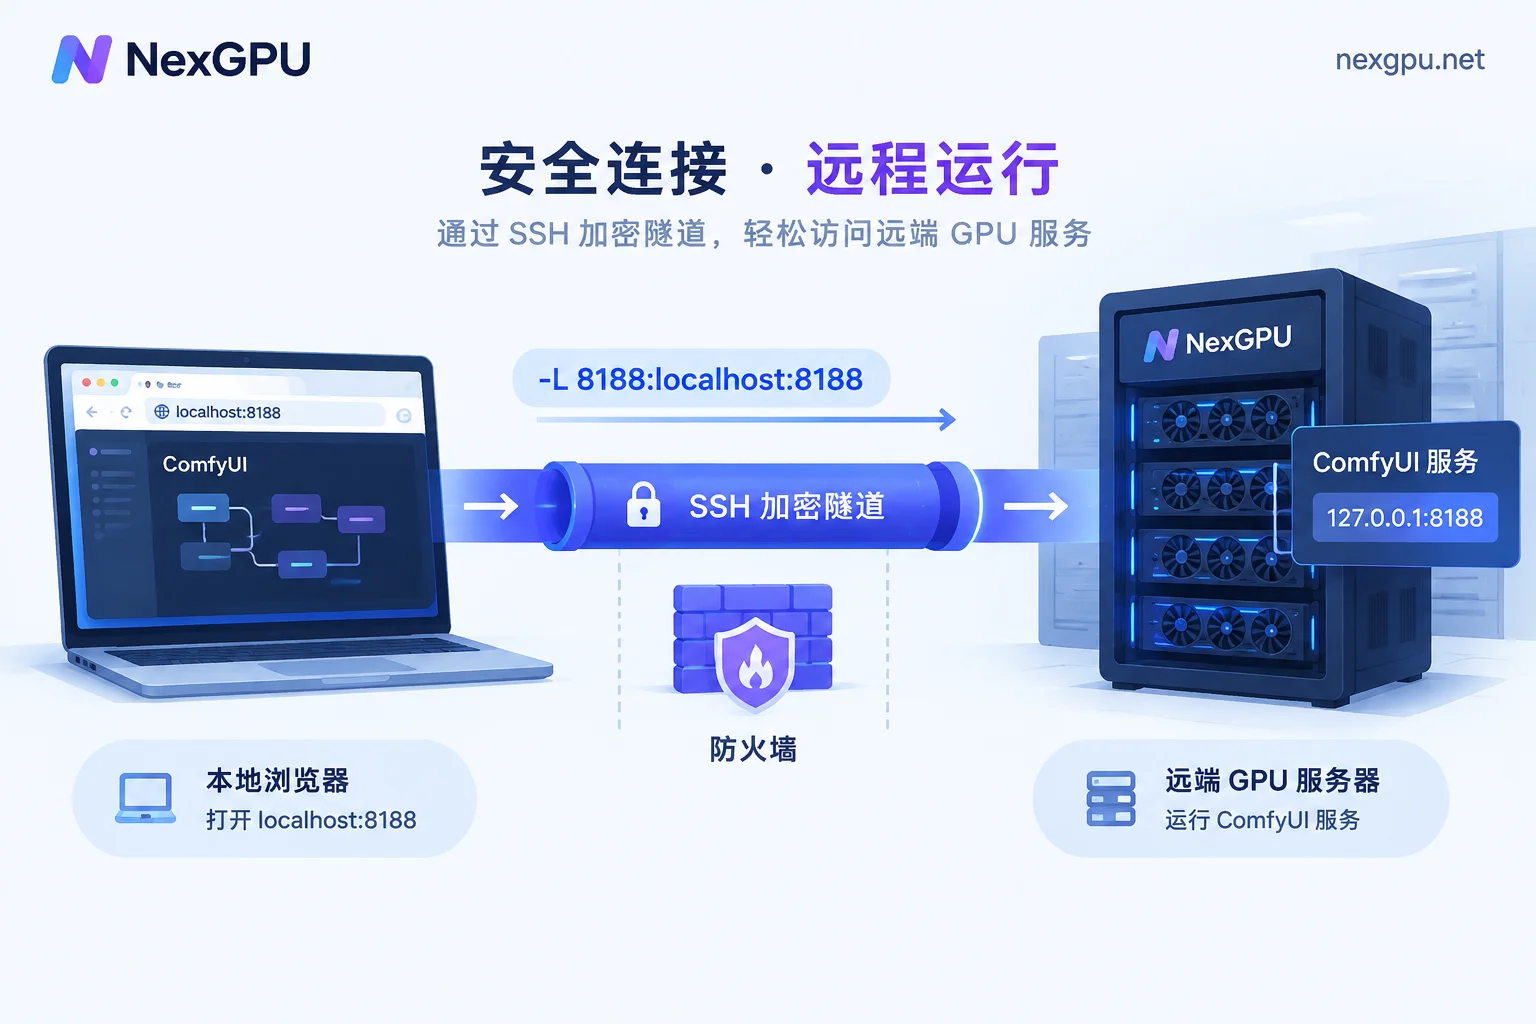
Services in many images listen only on 127.0.0.1 by default. Accessing IP:port directly from the internet won't work—this is by design for security, so don't rush to change it to 0.0.0.0 and expose everything. The right approach is to let SSH open an encrypted tunnel for you:
ssh -p 24681 -i ~/.ssh/nexgpu_key -L 8188:localhost:8188 [email protected]In -L 本地端口:localhost:远端端口, localhost is from the remote machine's perspective. Once connected, open http://localhost:8188 in your browser to reach the remote ComfyUI. For Jupyter, use 8888; for vLLM's OpenAI-compatible API, 8000 is common. Multiple services can be handled with multiple -L flags.
You can also fix it in the config file:
Host gpu-a
    ...
    LocalForward 8188 localhost:8188
    LocalForward 8888 localhost:8888
If you only want the tunnel and don't need an interactive shell, add -N -f to keep it running in the background:
ssh -N -f -L 8188:localhost:8188 gpu-aIf the local port is already in use, you'll get bind: Address already in use. Just change the left side to something like 18188 while keeping the right side as the service's actual port.
File Transfer: scp and rsync Have Different Port Arguments
# 注意 scp 是大写 -P
scp -P 24681 -i ~/.ssh/nexgpu_key ./dataset.zip [email protected]:/workspace/

# rsync 把 ssh 参数整体传进去,断点续传更适合大文件
rsync -avzP -e "ssh -p 24681 -i ~/.ssh/nexgpu_key" ./models/ [email protected]:/workspace/models/
After setting up ~/.ssh/config, these two can be simplified to scp ./dataset.zip gpu-a:/workspace/ and rsync -avzP ./models/ gpu-a:/workspace/models/. For tens of GB of weights, prefer rsync—it can resume interrupted transfers.
When You Can't Connect, Check in This Order
Error REMOTE HOST IDENTIFICATION HAS CHANGED: In hourly rental scenarios, IPs and ports get recycled and reassigned to another machine. Your local known_hosts still has the previous machine's fingerprint, so the client thinks there's a man-in-the-middle risk and refuses to connect. After confirming it's indeed a newly created instance, remove the old entry and reconnect:
ssh-keygen -R "[203.0.113.42]:24681"Hosts with ports are stored in known_hosts in the format [IP]:端口—include the square brackets and quotes.
Error Permission denied (publickey): Check in order whether the username is correct, whether -i points to the private key, whether the private key permissions have been tightened, and whether the uploaded public key matches this private key. Add -v (or -vvv) and run again—the output will show which keys it tried and which authentication methods the server accepts.
Connection timeout or Connection refused: Most likely the port was set to 22, or the instance is still starting or has been stopped. Go back to the console to confirm the instance status and current mapped port—the port may change after a restart, so don't rely on yesterday's notes.
Connected but GPU not usable: First run nvidia-smi to see if the driver and card are visible, then check whether the framework version matches CUDA. This is an image-level issue, unrelated to SSH. For tips on avoiding pitfalls when choosing images, see How to Choose Cloud GPU Image Templates; if you're using a one-click deployment template, the environment is usually already configured, and trying to compile it yourself is more likely to get stuck at this step.
After Connecting, Confirm the Boundaries of Data and Billing
Getting SSH working is just the beginning. What really affects money and results are these two things:
Where data lives. Put datasets, weights, and outputs in the persistent directory specified in the image documentation—don't scatter them in system temporary directories. Training outputs, fine-tuned LoRAs, and generated images should be pulled back to your local machine or pushed to your own repo/object storage with rsync after running.
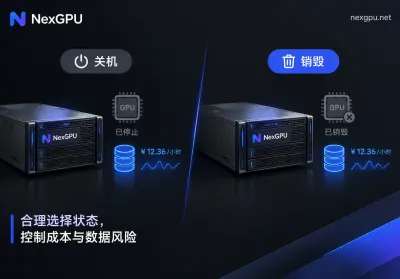
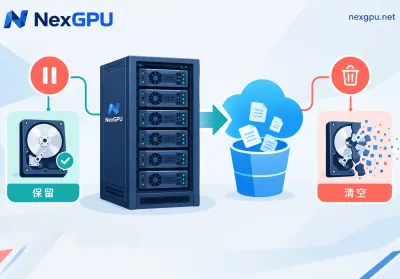
Stopping and destroying are different. On NexGPU, billing has only three components: compute, storage, and traffic. After stopping, you're no longer charged for compute, but the disk remains and storage fees continue. Only destroying the instance stops everything—and the data on the instance disappears too. So "not running tonight, continuing tomorrow" is a good fit for stopping, while "this task is completely finished" is when to destroy. Before destroying, make sure you've transferred anything you want to keep. Also, the unit price at order time is locked until destruction, so long-running tasks don't need to worry about mid-term price increases—which also means frequent destroy-and-recreate requires re-ordering at the then-current price.
When you're ready to spin up a second machine, check prices and available nodes to confirm the card type and current availability, and pick a ready-made image (vLLM, PyTorch, ComfyUI, Ollama, etc.) to save most of the environment setup time. The connection method is exactly the same as above—just swap the HostName and Port in ~/.ssh/config.


Comments(0)